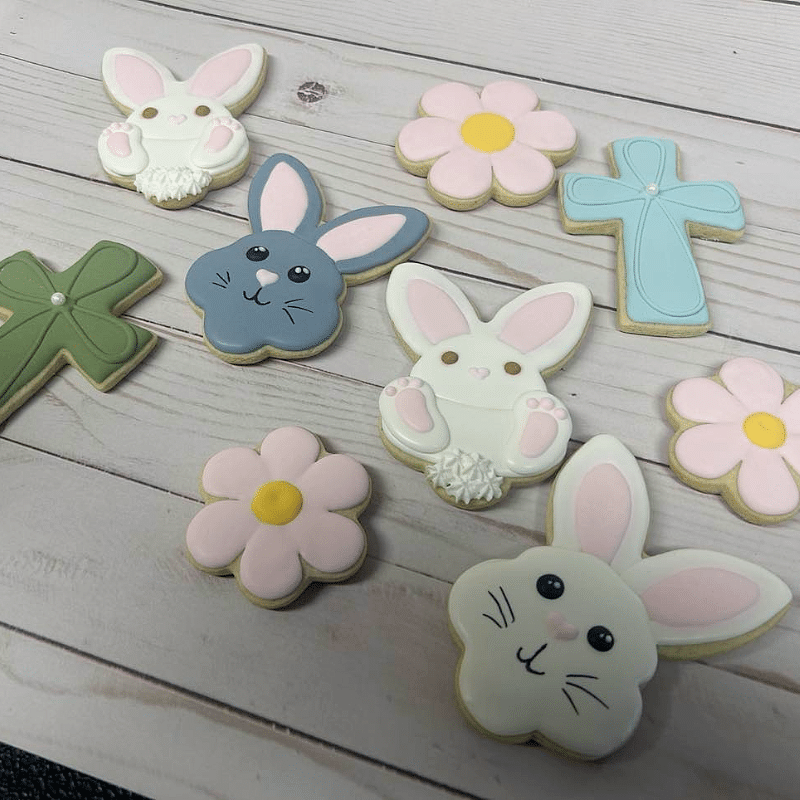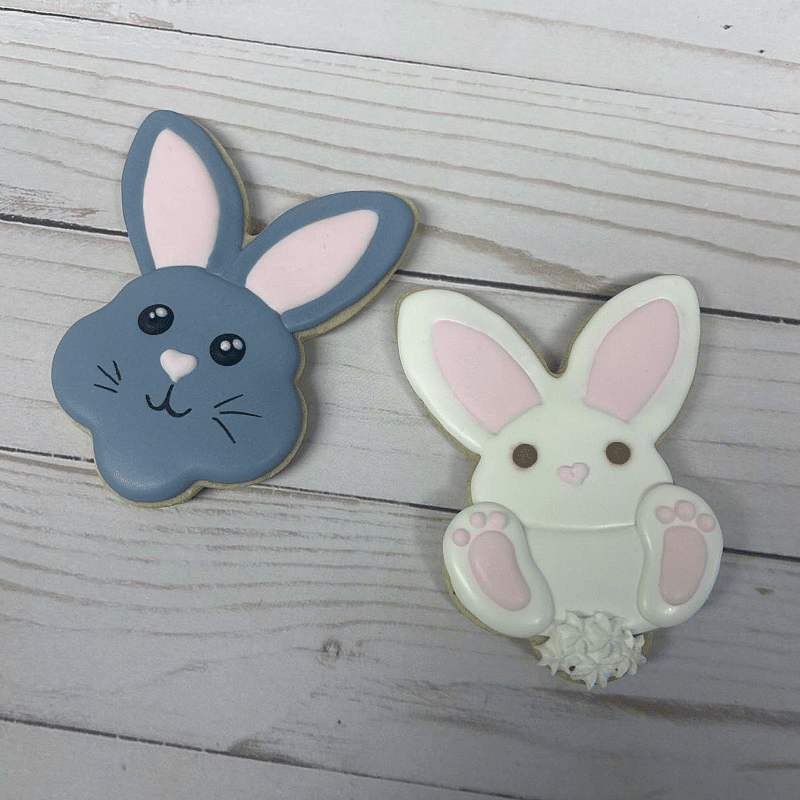
You can use the same cookie cutter to decorate both of these adorable bunnies!
Follow along as we show you how to “flip” from the traditional grey bunny to the super cute white bunny.
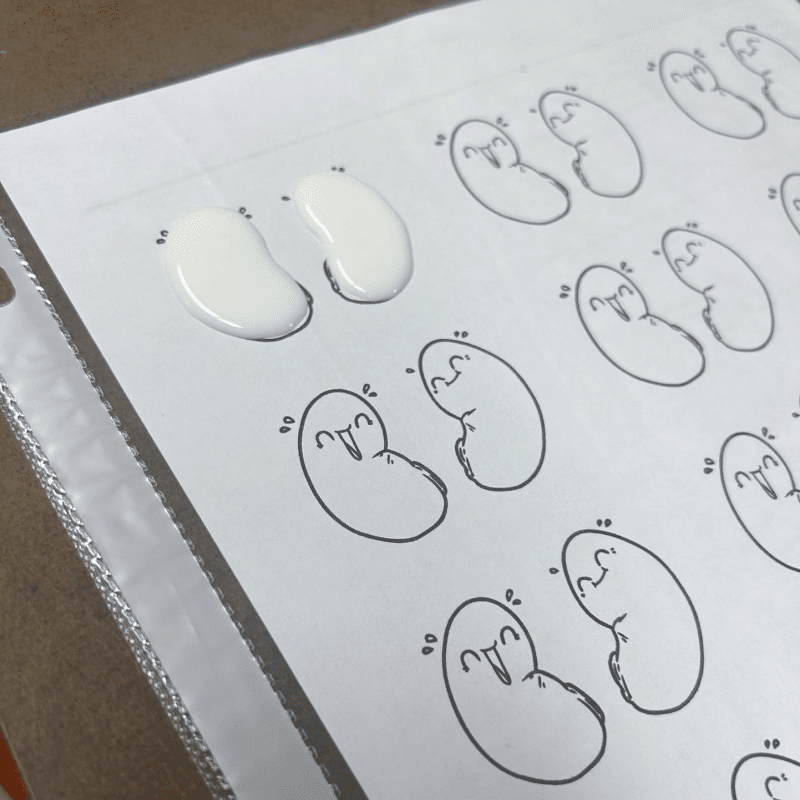
Start by getting an idea of how big you want your feet to be. I printed a sheet of “kidneys” to get a general shape and size to follow. That page can go in a sheet protector or you can lay parchment paper over it. Using royal icing, pipe the white base and let them crust over.
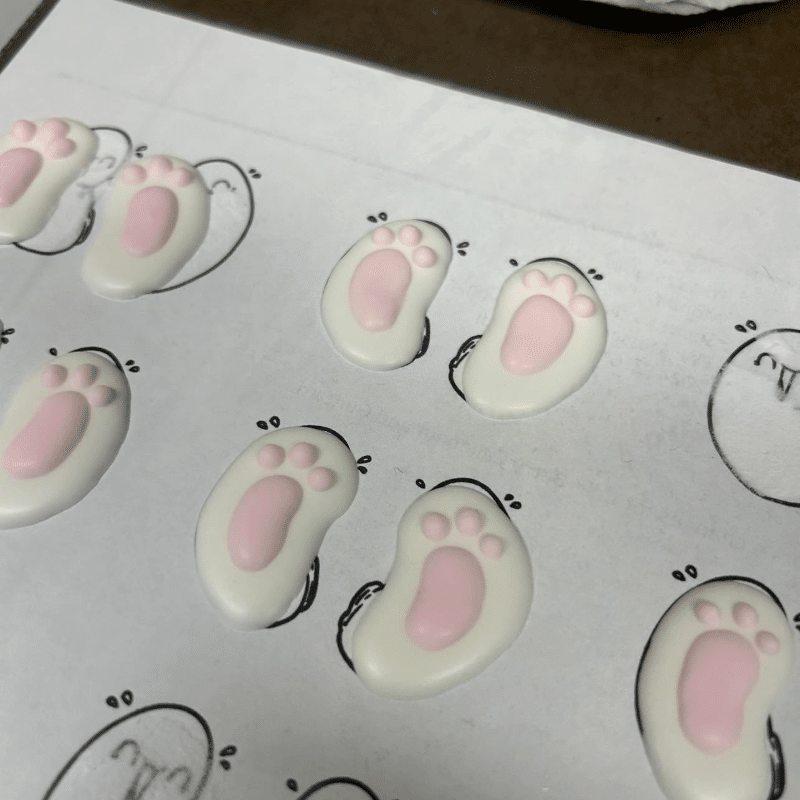
Now pipe the pink foot prints. Note: if you use the page protectors these will take MUCH longer to dry than piping directly on the cookie. Be sure to leave plenty of time before removing them.
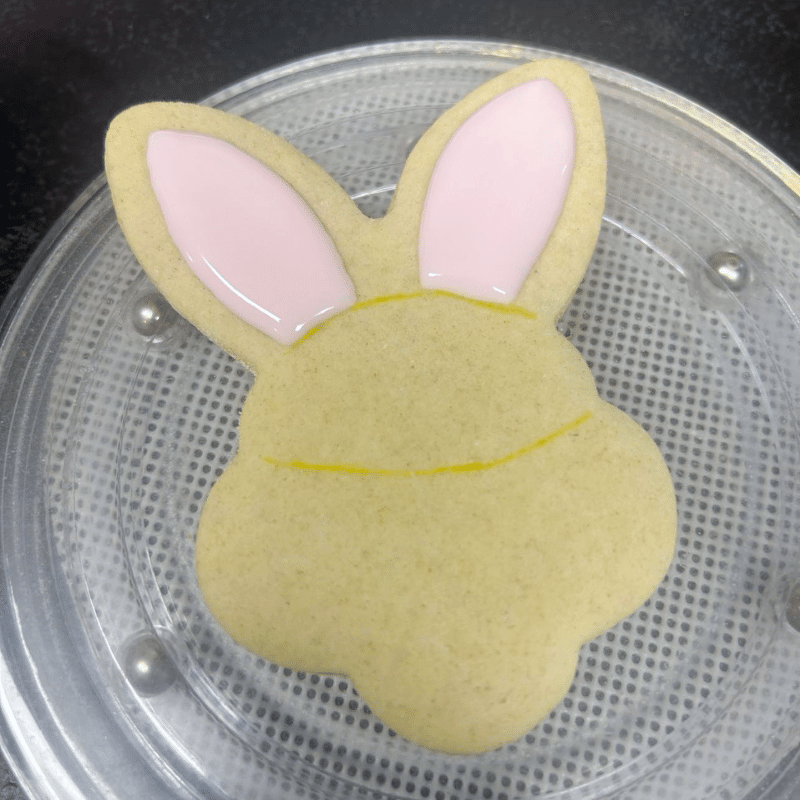
Next, flood the pink ear centers. It can be helpful to use edible markers to sketch some guide lines. Let your royal icing dry or at least crust over between each of these steps.
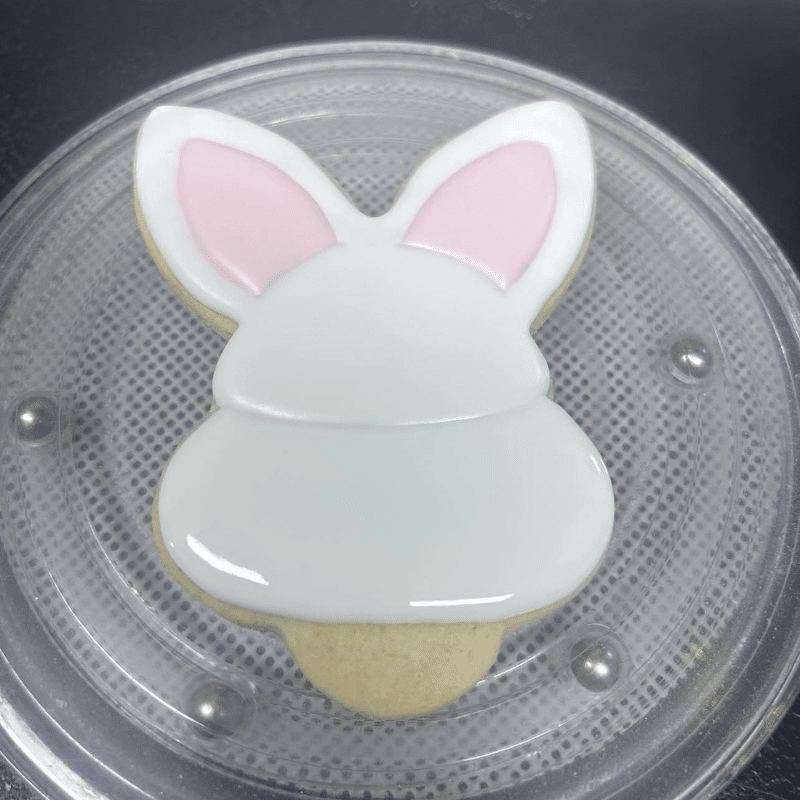
Use white fill in the face and around the pink of the ears.
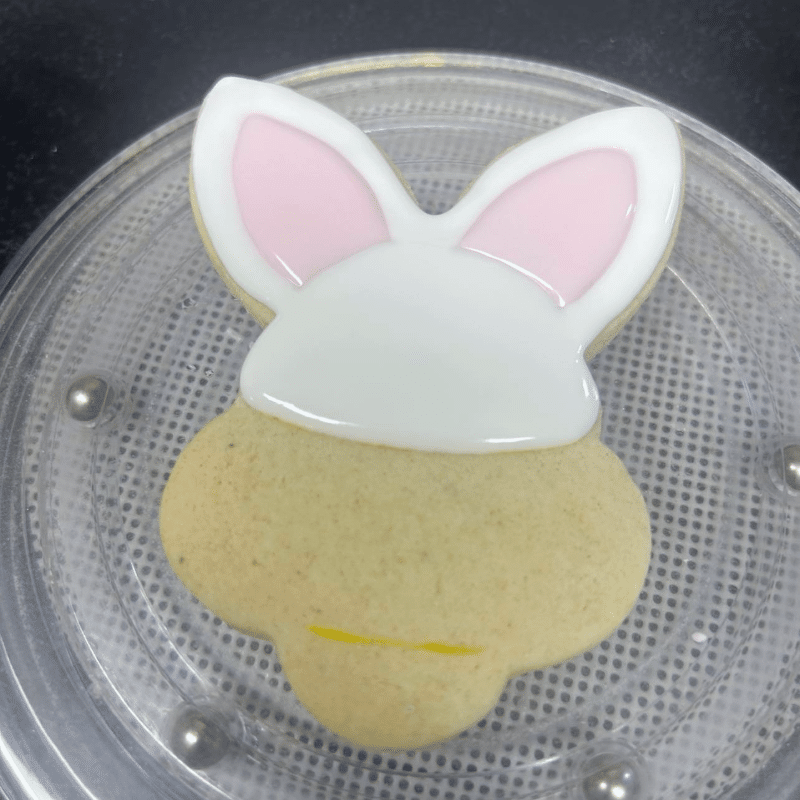
Flood the body.
Use a thicker consistency pink to make a heart shaped nose, and brown or black for the eyes. With a star tip and very stiff icing fill in the tail.
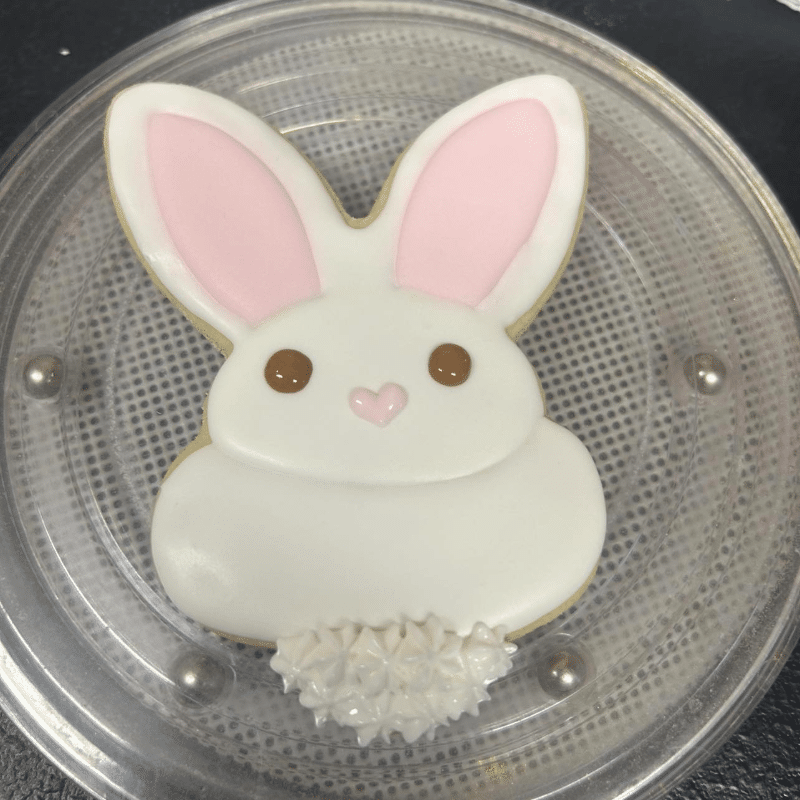
Using white royal icing, “glue” the feet to the body.

Share this adorable bunny at all your Spring/Easter activities!